Adding a category
Review the following link for more info on adding categories: http://codex.wordpress.org/Manage_Categories_SubPanel
- Log in to your WordPress Administration Panel (Dashboard).
- Click the Post tab
- That done, click Categories for blog posts
- Type in the name of your new category
- With that done, click the Add New Category button
Creating a blog post
- Log in to your WordPress Administration Panel (Dashboard).
- Click the Posts tab
- And click the Add New tab
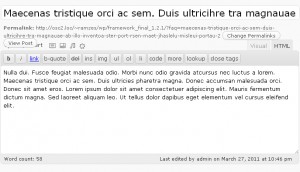
- Type in your post content. For more info on adding posts, please review the following link http://codex.wordpress.org/Posts_Add_New_SubPanel
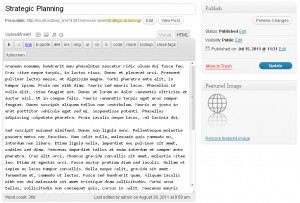
- And finally click the Publish button
Creating a blog post
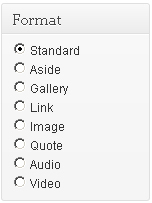
Review the following link for more info about post formats: http://codex.wordpress.org/Post_Formats
Creating a slider post (slide)
Slides are essentially custom post types http://codex.wordpress.org/Post_Types#Custom_Types. which means that they are different from common posts, such as blog posts, portfolio posts etc. That allows us to manage the content of the site really easy.
The following slider runs on Nivo Slider.
Please note, your template may use another slider plugin. Please refer to your template documentation for the most accurate information.
- Log in to your WordPress Administration Panel (Dashboard).
- Click the Slider tab
- And now click the Add New tab
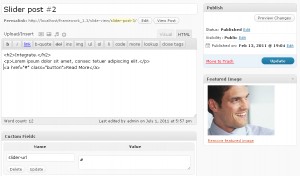
- Insert your slider title.
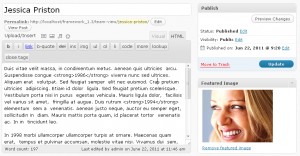
- Upload your image with the help of the Featured Image option (click the Set featured image link)
- You can use the following custom fields for your slider:
- slider-url – link for the slider image.
- For the slider description please use the post edit option. The slider description can contain the HTML-markup, f.e:
123
<h2>Integrate.</h2><p>Lorem ipsum dolor sit amet, consec tetuer adipiscing elit.</p><ahref="#"class="button">Read More</a> - And click the Publish button
Adding a portfolio post
Portfolio items are essentially custom post types http://codex.wordpress.org/Post_Types#Custom_Types. which means that they are different from common posts, such as blog posts, portfolio posts etc. That allows us to manage the content of the site really easy.
- Log in to your WordPress Administration Panel (Dashboard).
- Click the Portfolio tab
- And now the Add New one
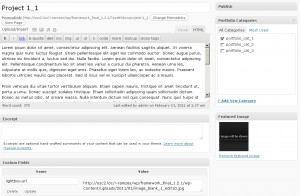
- Fill in all the required fields (title, content)
- Upload your image with the help of the Featured Image option (click the Set featured image link)
- The following options are available for a porfolio post:
- lightbox-url – path to the large image. Once clicked it’ll pop up with the help of prettyPhoto
- And push the Publish button
Adding a Testimonials post
- Log in to your WordPress Administration Panel (Dashboard).
- Click the Testimonials tab
- And click the Add New tab
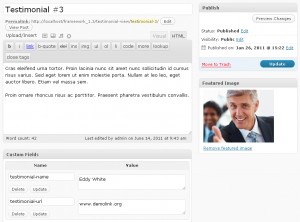
- Fill in all the required fields (title, content)
- Upload your image with the help of the Featured Image option (click the Set featured image link)
- You can use the folowing custom fields for this sort of posts:
- testimonial-name – authors’s name
- testimonial-url – author’s link
- Hit the Publish button
Adding an FAQs post
- Log in to your WordPress Administration Panel (Dashboard).
- Click the FAQs tab
- And now the Add New button
- Since it is a question/answer type of post, the title of the post is the question and the content is the answer.
- Click Publish
Adding an Our Team post
- Log in to your WordPress Administration Panel (Dashboard).
- Click the Our Team tab
- And now the Add New button
- Fill in all the required fields (title, content)
- Upload your image with the help of the Featured Image option (click the Set featured image link)
- Click Publish
Adding a Service post
- Log in to your WordPress Administration Panel (Dashboard).
- Click the Services tab
- And now the Add New button
- Fill in all the required fields (title, content)
- Upload your image with the help of the Featured Image option (click the Set featured image link)
- Click Publish
Please note, these are the most used custom posts types of our templates. Your particular template may include different posts types with different names and appearance. Please refer to your template documentation for the most accurate information.


